
With the advancements in technology, electric bicycles are becoming more powerful, and their batteries can hold a charge much longer, which allows for further travel. However, like every other part of the electric bicycle, the batter is susceptible to normal wear and tear. In these situations, it is crucial to know how to repair your electric bicycle battery to continue your ride. Furthermore, repairing your battery can save you a good chunk of change because e-bike batteries are not cheap. But, how do you fix an electric bicycle battery?
Depending on the damage you intend to repair, some repairs for your electric bicycle battery can be straightforward. For example, if one of the connectors on the battery where power flows to the motor is bent, you can use a pair of needle-nose pliers to very gently bend it back into place. However, other repairs are much more complicated and can take quite some time to do.
Replacing the battery cells inside of your e-bike battery is easily the most complicated repair job. Doing this repair requires you to have a few tools and replacement cells that are the same voltage, size, and amps. Furthermore, you may need to break some plastic for the housing inside of the battery to replace the dead cells.
As you continue to read this article, we will discuss how an electric bicycle battery works. Furthermore, we will cover some of the issues that can cause your e-bike battery to break. Finally, we will give you an in-depth, step-by-step process to replace dead cells within your electric bicycle battery.
How Does An Electric Bicycle Battery Work?
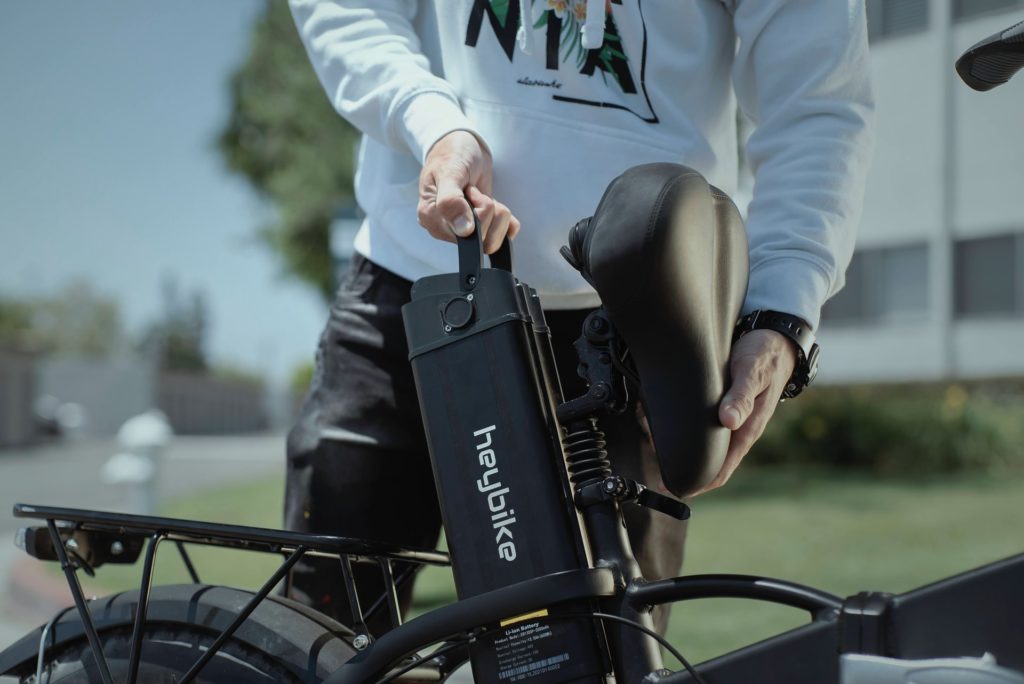
The lithium-ion battery is used in most electric bicycles instead of the lead-acid 12-volt battery that is frequently seen in automobiles. Unlike their lead-acid cousins, these e-bike batteries are lower in weight and can keep a charge for far more extended periods.
But, like every other sort of battery, these power cells have a finite lifespan. As a result, they often lose capacity with each complete charge and discharge, referred to as a ‘cycle.’ The larger the capacity for the degeneration of an e-bike battery, the more cycles it can accomplish. As a result, as the power cell deteriorates over time, the assisted cycling range of your bicycle may diminish.
Nonetheless, this drop in battery performance will not happen over a few days or weeks. Instead, it usually happens over a long time before you notice any changes. As a result, it may take several months or even years before you detect an issue with your battery that has to be addressed.
With that said, there are still a few electric bicycles on the market that use lead-acid batteries. However, these lead batteries may weigh up to 5.5kg per unit and only offer 5Ah of power, compared to a lithium-based battery that weighs just 1.2kg and can give up to 8.8Ah of power.
Similarly, depending on the manufacturer, different e-bike batteries have varied endurance levels. For example, larger lithium-ion batteries typically have a longer lifespan than smaller batteries because they are less likely to exhaust a considerable chunk of their power in a single charge. This helps to extend the battery’s life.
What Can Cause An Electric Bicycle Battery To Stop Working?
Overheating, overcharging/high voltage, deep discharge, and high discharge/charge current are the four primary causes of electric cell damage. When a battery is exposed to any of these situations for an extended length of time, the bike’s assisted range decreases. In the worst-case situation, the machine may be impossible to run since the distance it can travel is so little.
If a lithium-ion bike battery is left in the sun for long periods of time and is exposed to extreme temperatures, it may suffer. It might also be harmed if the cell’s internal temperatures climb over what it can handle, which is common when it is left plugged in for an extended time after attaining full charge. Changes in the unit’s chemical composition and exposure to extremely high temperatures might cause the battery to enlarge and become inefficient in both circumstances.
The battery’s voltage capacity progressively climbs during overcharging, eventually exceeding the safety ceiling, also known as max voltage. When this happens regularly, the cell unit loses its ability to maintain a charge and becomes dysfunctional. In addition, the longer a battery sits on the charger after reaching full capacity, the more likely it is to cause a negative chemical reaction inside the cell. Essentially, the internal resistance capacity of the lithium-cell will gradually increase until it reaches a critical level, at which point the lithium-cell will be rendered worthless.
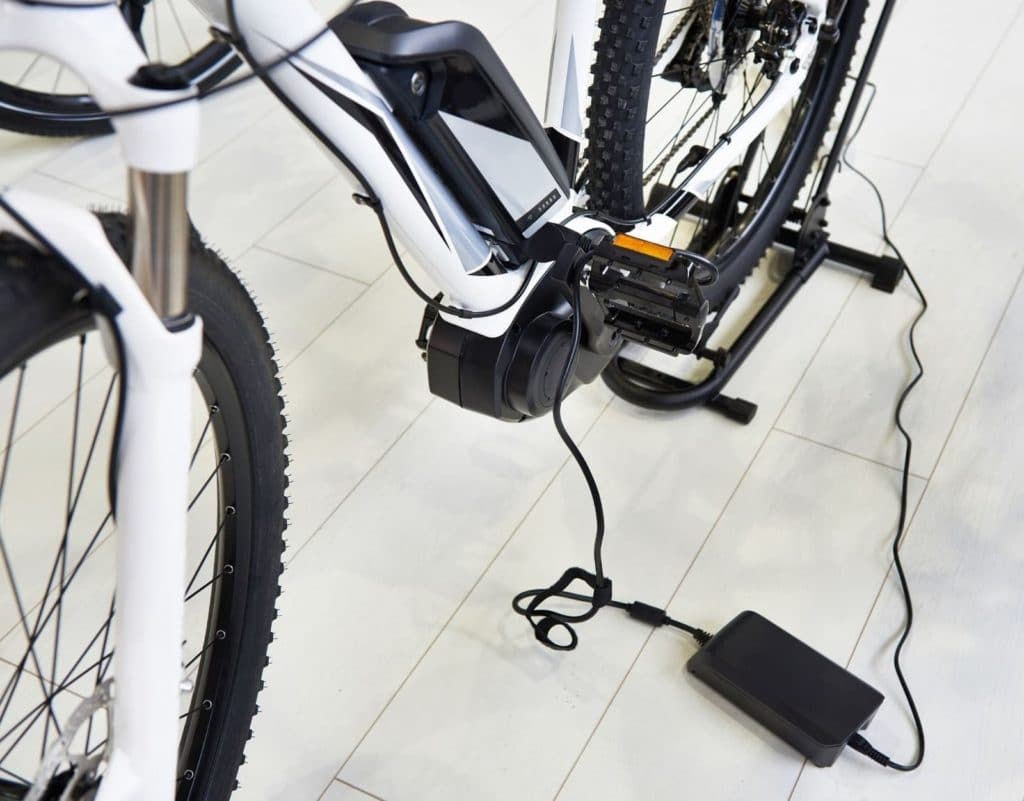
Some e-bike batteries include a built-in safety feature called a battery management system (BMS) that prevents overheating. However, not all of them have this feature, and as a result, temperature variations can readily impact them. To avoid overheating, it’s always a good idea to disconnect your e-bike when it’s fully charged.
Similarly, because lithium-ion bike batteries are not normally built for usage in cold weather situations, excessive cold, such as that seen during the winter, might harm them. When a battery gets frozen, the critical chemical processes that allow it to work and deliver electricity are disrupted. As a result, even if the cell manages to start under challenging conditions, it will not charge to total capacity or produce enough power to push the machine for prolonged periods.
A battery can also fail due to deep discharge, which occurs when the power cells are used more often at maximum capacity. Riders who consistently discharge their lithium batteries to 5% or 10% capacity before recharging them will often wear them out significantly faster. Additionally, avoiding deep drain enhances battery life. This implies that you should charge your e-bike while the battery power is between 40 and 80 percent, rather than waiting until the charge is at 5% and then fast charging it to 80 percent before using it again.
High discharge, which happens when a large quantity of battery power is consumed in a short period of time, should also be avoided. While this may momentarily improve your e-acceleration, it negatively impacts the battery’s longevity.
How To Fix An Electric Bicycle Battery
If the battery on your electric bike stops operating for any of the reasons listed above, there are a number of measures you may take to repair the cell unit and get it running again.
If your battery is not charging, your BMS is the primary cause and will need to be replaced with a new one. Open your battery and replace the old BMS with the new one and solder the wires to the same spots as before.
When you open your battery, examine all of the solder joints. If any are missing, apply new solder and see if that fixes the issue.
1. You will need to open your e-bike battery and remove the casing that houses all of the cells and the BMS
2. With your voltage meter, measure the volts of all the cells. Depending on your battery, the voltage of the cells may differ. However, all of the cells in your batter will have the same voltage output. While measuring the voltage, if you notice any cells that are lower or have 0 volts, then you’ve found the issue.
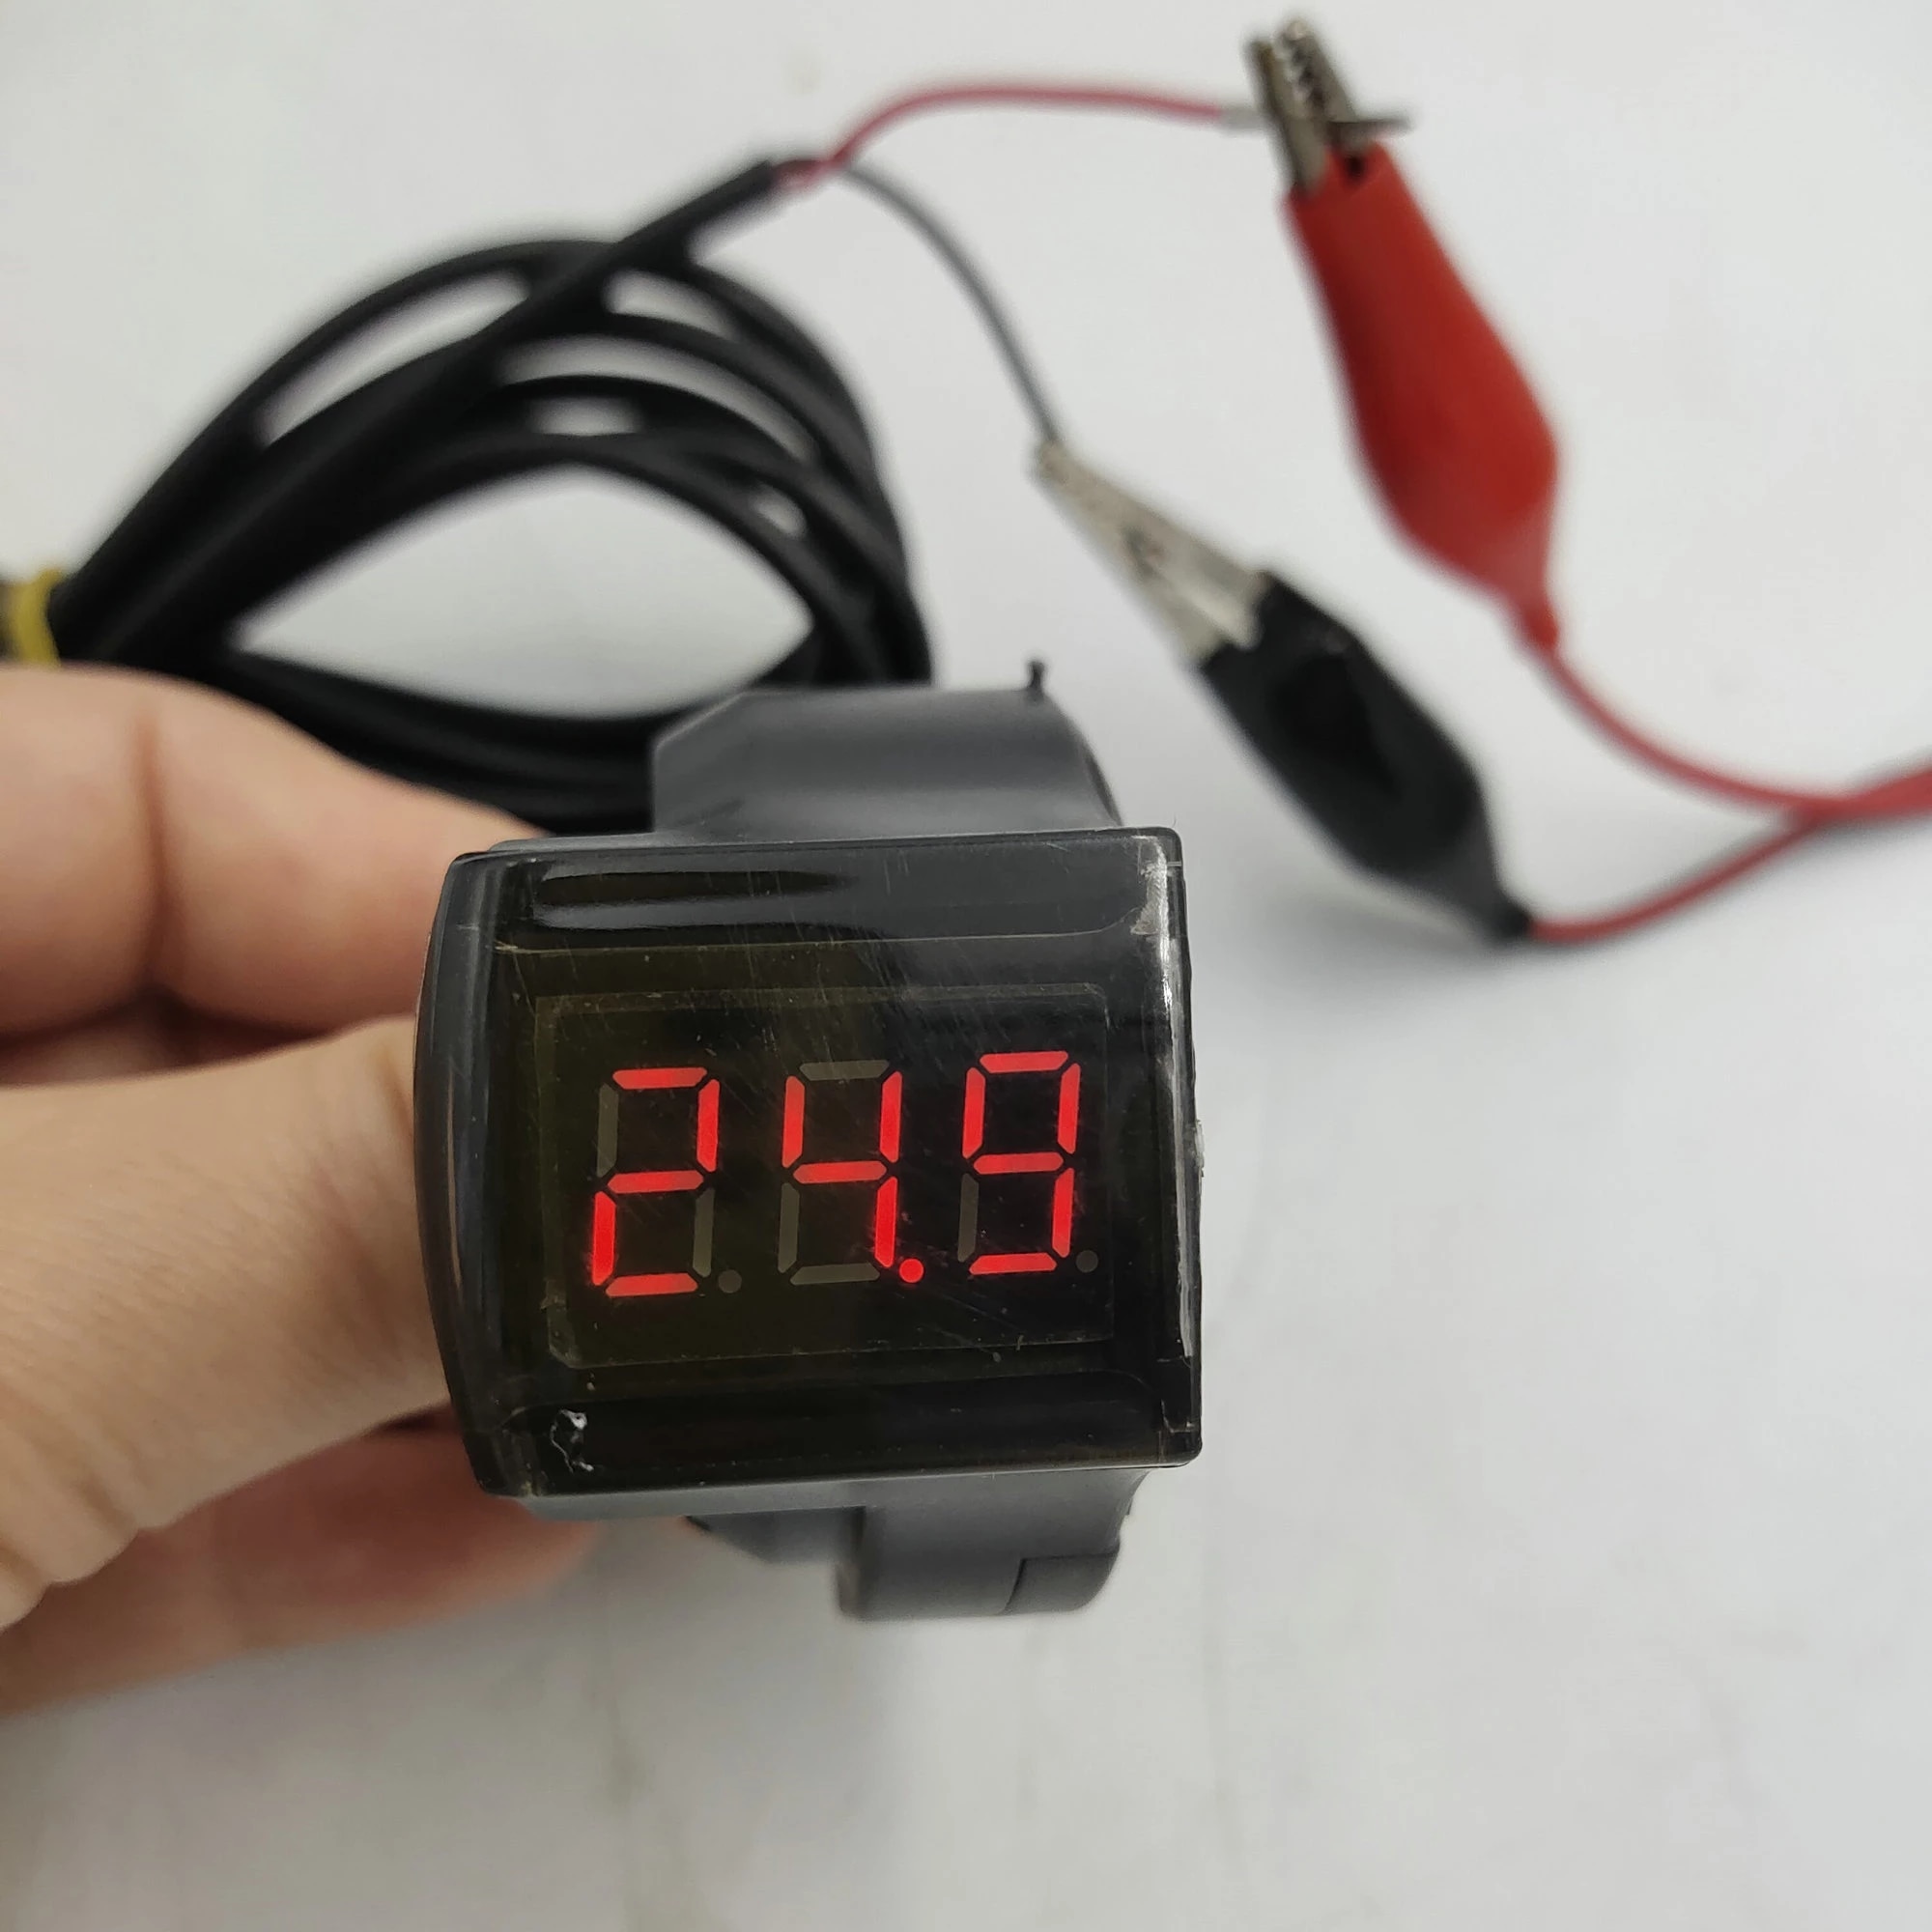
© PHOEBELIU EV PARTS&tools Store
Be sure to measure the voltage for all the cells to make sure that it’s only one group of cells and not multiple. Once you finish measuring all of the battery cells, take a picture of the parallel group you need to replace so you will know how to reconnect the cells later.
3. Battery cells will have a positive and negative sides. The negative will be flat while the positive has a small protrusion. Use a flathead screwdriver to remove the nickel strips or copper wire from the cell group that is dead. Be very careful not to touch the other cell groups accidentally.
Doing so will allow the current to travel from one cell group to another, which can cause sparks and even a fire. Once you have removed the nickel strips or copper wire from the negative side, flip the housing over and remove the strips from the positive side on the same cells.
4. After removing the nickel strips or copper wire, you will need to remove the dead cells from the housing. You may need to cut or break part of the housing to remove the dead cells.
5. After removing the old battery cells, you will need to replace them with new ones. Be sure to place them in the same spots while also keeping the positive and negative sides the same.
6. Now you will need to solder the new batteries in place. It is best if you had a spot welder to do this.
However, you can use a soldering iron, but this may cause slight damage to the batteries, which will cause them to have a shorter life span. Use the pictures you took of the cell group as a reference.
7. After you finish up your soldering, you will need to reconnect everything to the battery housing. Finally, check to see if your battery can charge. If it does start to charge, then you are good to go. Leave it to charge fully, and you’ll be back on your e-bike in no time.
Final Thoughts
Depending on the issue, repairing your electric bicycle battery can be very easy. However, if your battery is not charging, then there is a good chance that you will need to replace some battery cells. This can be quite an ordeal, and most people will opt to purchase a new battery. But, with our guide and the right tools, you can easily replace dead battery cells.


