Tire pressure is a game-changer for mountain biking. It affects grip, comfort, and control – and finding the right PSI can make your rides smoother and more efficient. Here’s what you need to know:
- Why It Matters: Too much pressure makes rides bumpy and reduces grip. Too little pressure risks punctures and instability.
- Quick Tips: Start with a PSI based on your weight and riding style. Adjust for terrain (e.g., lower PSI for wet trails, higher for rocky ones).
- Pro Advice: Aim for the lowest pressure that avoids rim strikes and maximizes traction.
Quick PSI Guide by Weight (lbs)
| Weight | XC Front/Rear | Trail Front/Rear | Downhill Front/Rear |
|---|---|---|---|
| 110–132 | 18/22 | 16/19 | 15/19 |
| 154–176 | 20/23 | 18/21 | 17/20 |
| 198–220 | 26/28 | 22/25 | 23/25 |
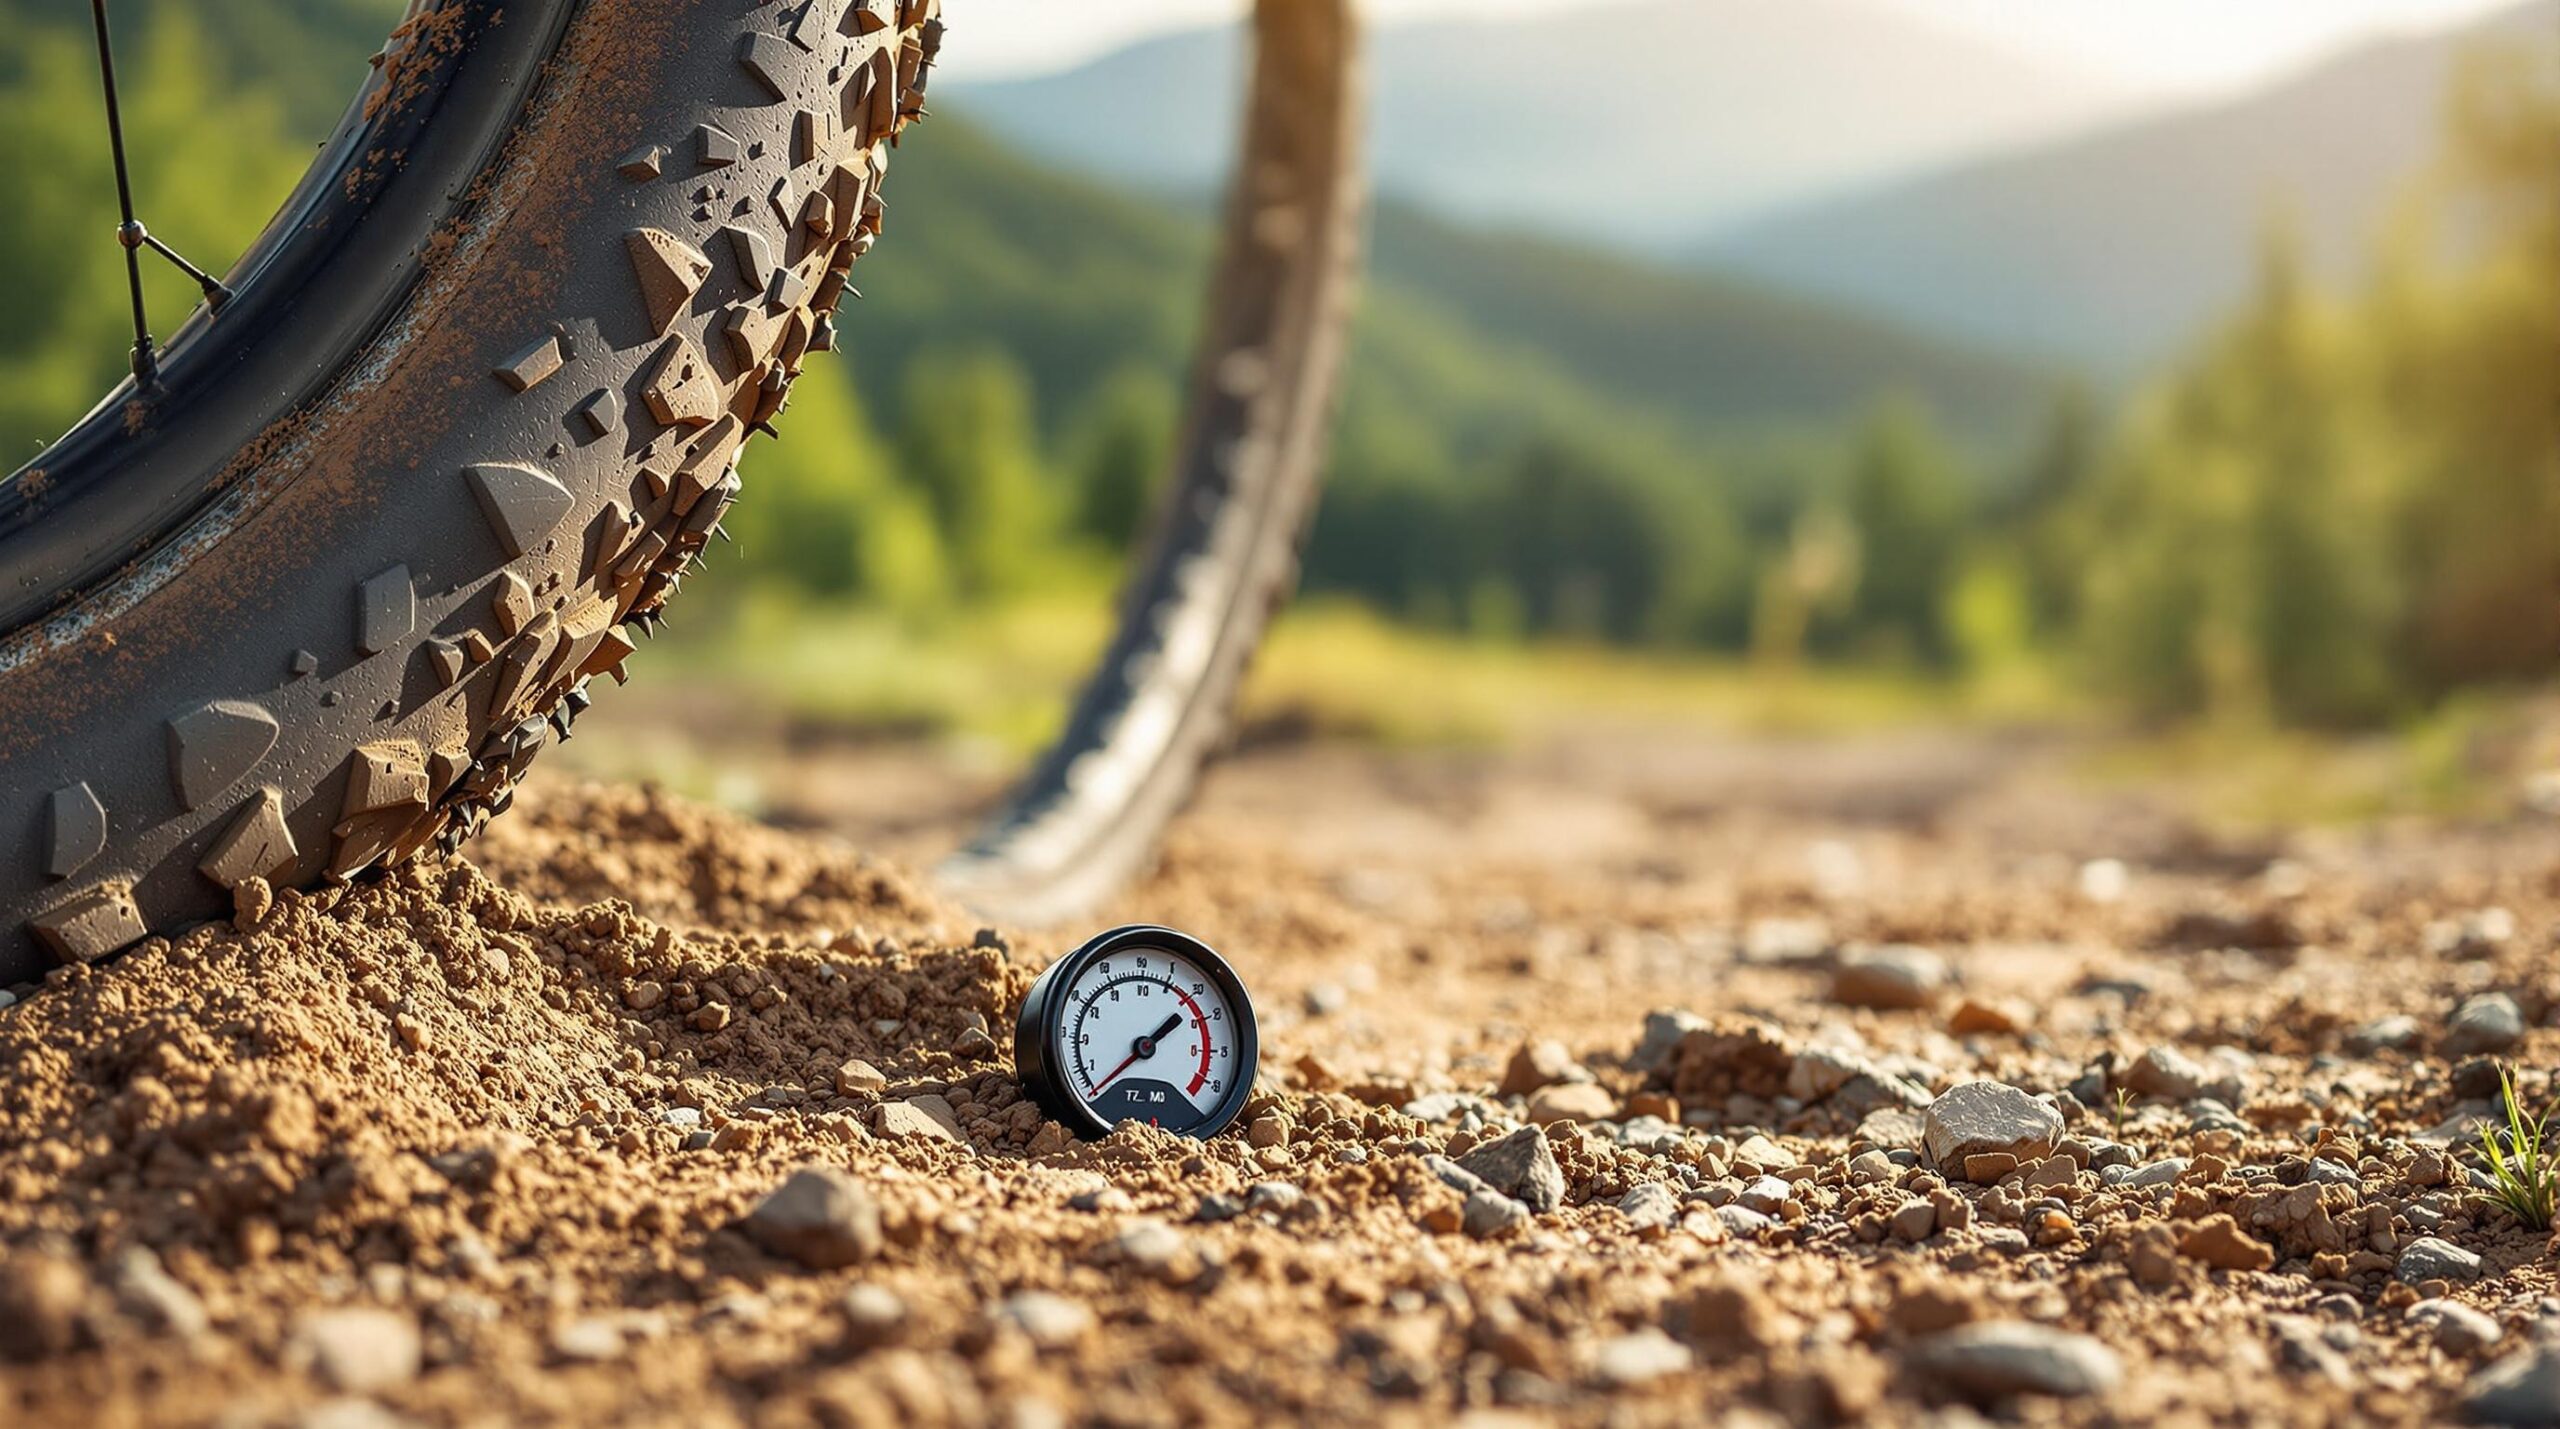
Pro Tip: Use a reliable pressure gauge and fine-tune your PSI during test rides. Small changes (1–2 PSI) can make a big difference.
Tire Pressure Basics
PSI Explained
PSI, or Pounds per Square Inch, is the standard way tire pressure is measured in the United States. While the sidewall of your mountain bike tires might show a maximum PSI, this number isn’t what you should rely on for actual riding. As MTB coach Rebekah Rottenberg puts it:
"Please ignore the recommended PSI reading on the sidewall"
Your tires essentially act as part of your bike’s suspension system. The pressure you set directly impacts how your bike performs on different terrains. Jason Richmond, lead design engineer for Bontrager tires, explains:
"Typically, for mountain biking, the best tire pressure is the lowest pressure that you can run without your tire bottoming out under load. This will provide you with the largest footprint, best bump compliance and fastest speed."
Now, let’s look at how the right pressure levels influence traction, ride comfort, and overall bike performance.
Correct Pressure Effects
Knowing what PSI means is just the beginning. The pressure you choose plays a big role in how your bike handles different surfaces.
Traction and Control
When your tires are inflated correctly, they mold to the trail, improving grip. Kenny Wehn, mechanic for the NoTubes Elite team, highlights this:
"It is so much more efficient if you are maintaining ground contact. Too high pressure and you are not going to have climbing traction or cornering traction."
Ride Quality and Speed
Higher pressure might feel faster, but it often works against you. MTB coach Rebekah Rottenberg explains:
"When a tire is able to rollover objects rather than bounce off them, you experience a smoother and more efficient ride."
Common Pressure-Related Issues
The table below outlines how different pressure levels can affect your ride:
| Pressure Level | Effects | Risks |
|---|---|---|
| Too High | Reduced grip | Harsh impacts, poor handling on technical terrain |
| Too Low | Better grip | Pinch flats, tire instability, potential rim damage |
| Optimal | Smooth, controlled ride | No risks when maintained properly |
Tire width and casing strength also play a role in determining the ideal pressure. For example, wider tires allow for lower pressures, while lightweight tires may need higher PSI to avoid damage.
What Affects Tire Pressure
Weight and Pressure
The total weight you’re carrying – rider, gear, and clothing – plays a big role in determining the right tire pressure. Here’s a quick guide for trail, enduro, and downhill riding:
| Weight (kg) | Trail (PSI front/rear) | Enduro (PSI front/rear) | Downhill (PSI front/rear) |
|---|---|---|---|
| 60–70 | 19/22 | 18/21 | 17/20 |
| 70–80 | 21/23 | 20/22 | 19/21 |
| 80–90 | 24/25 | 23/24 | 22/23 |
| 90–100 | 25/27 | 24/26 | 23/25 |
Note: Values are in PSI for front and rear tires.
In addition to weight, the construction of your tires significantly impacts performance.
Tire Construction and Specs
Tire width and TPI (Threads Per Inch) are crucial factors in determining the right pressure. Here’s what you need to know:
- Wider tires (around 2.5 inches) can handle lower pressures, offering better grip and comfort.
- Higher TPI tires tend to need more air pressure for proper support and performance.
Keep these factors in mind when adjusting your PSI, especially as terrain conditions change.
Terrain and Trail Conditions
Trail conditions should guide your pressure adjustments:
- Rocky trails: Increase pressure to protect against sidewall cuts.
- Wet or root-filled trails: Lower pressure to enhance grip.
- Smooth or firm trails: Slightly higher pressure helps reduce rolling resistance.
Riding Style
Your riding style also affects how you should set your tire pressure. Fine-tuning your PSI can improve traction for both climbing and cornering, giving you better control and performance on the trail.
Mountain Bike Tyre Pressures – Everything You Need To Know
sbb-itb-9d75ae1
PSI Guide by Trail Type
Adjusting your tire pressure to match the trail type is key to getting the best performance. Here’s a breakdown for different riding styles.
XC Trails
Cross-country riding benefits from higher tire pressures for speed and efficiency on smoother terrain. A slightly higher PSI in the rear tire helps prevent pinch flats and improves pedaling. If you’re running a tubeless setup, you can drop the pressure by 2–4 PSI for better traction without risking rim damage.
| Rider Weight (lbs) | Front PSI | Rear PSI |
|---|---|---|
| 88–110 | 17 | 21 |
| 110–132 | 18 | 22 |
| 132–154 | 20 | 23 |
| 154–176 | 22 | 24 |
| 176–198 | 25 | 26 |
| 198–220 | 26 | 28 |
| 220–242 | 28 | 30 |
Trail and Enduro
Trail and enduro riding call for a balance between grip and tire protection over mixed terrain. For double-down or super gravity tires, follow these PSI guidelines. If you’re using tubes, add 3–5 PSI to avoid punctures from pinch flats.
| Rider Weight (lbs) | Front PSI | Rear PSI |
|---|---|---|
| Under 132 | 16 | 19 |
| 132–154 | 17 | 20 |
| 154–176 | 18 | 21 |
| 176–198 | 21 | 24 |
| Over 198 | 22 | 25 |
Downhill
Downhill riding requires lower pressures to optimize grip and absorb impacts on steep, rocky descents. Use these recommendations for the best performance.
| Rider Weight (lbs) | Front PSI | Rear PSI |
|---|---|---|
| 88–110 | 14 | 18 |
| 110–132 | 15 | 19 |
| 132–154 | 17 | 20 |
| 154–176 | 19 | 21 |
| 176–198 | 22 | 23 |
| 198–220 | 23 | 25 |
| 220–242 | 25 | 27 |
Tip: Keep an eye on temperature changes. A 10°C (about 18°F) drop can lower your tire pressure by roughly 2 PSI, so adjust accordingly.
How to Set Tire Pressure
Getting your tire pressure just right is essential for a smooth and safe ride. Here’s a step-by-step guide to help you find the ideal PSI for your trail adventures.
Using a Pressure Gauge
A reliable pressure gauge is a must for accurate readings. Follow these steps to check your tire pressure:
- Remove the valve cap and press the gauge firmly against the valve until you get a reading.
- Take multiple readings to confirm accuracy.
- Always check tire pressure when the tires are at ambient temperature, and do this before heading out for a ride.
Once you know your starting pressure, you can fine-tune it during your ride.
Testing Tire Pressure
Start with a baseline of 28 PSI for the front tire and 30 PSI for the rear tire. Then follow these steps to adjust:
-
Choose a Test Loop
Pick a 5–10 minute trail section with a mix of terrain types. This will help you evaluate performance under varied conditions. -
Adjust Systematically
Ride the loop multiple times, lowering the tire pressure by 2 PSI in both tires after each lap. Pay close attention to how the tires feel in terms of grip, comfort, and impact absorption. Also, watch for any rim strikes. -
Track Your Observations
Keep a simple record of your findings to identify the best setup. For example:PSI (Front/Rear) Grip Comfort Protection 28/30 Good Firm Excellent 26/28 Better Good Very Good 24/26 Excellent Better Good
This process will help you zero in on the perfect pressure for your riding style and terrain.
How Weather Impacts Pressure
Temperature changes can cause tire pressure to fluctuate. As Jason Richmond, Lead Design Engineer for Bontrager tires, explains:
"When you set pressure indoors and then go out into freezing temperatures, your tire pressure will drop. Plan accordingly to ensure you are not stuck with a flat tire in the snow"
Be sure to recheck and adjust tire pressure when riding in different weather conditions to avoid unexpected issues.
Finding Your Best Pressure
Fine-tune your PSI settings using this approach during your test rides.
Start High
Here’s how to calculate your starting point: for the front tire, divide your weight in pounds by 7, subtract 1, and then add 2 PSI for the rear tire. For example, a 175-pound rider would start with 24 PSI in the front and 26 PSI in the rear. This builds on the earlier weight-based PSI recommendations.
Track Changes
Once you’ve set your initial pressures, keep a log to note how they affect your ride.
| Trail Type | Front PSI | Rear PSI | Performance Notes |
|---|---|---|---|
| Rocky | 24 | 26 | Protects rims effectively |
| Rooty | 22 | 24 | Great grip, occasional rim strikes |
| Smooth | 20 | 22 | Excellent traction |
Keep in mind: too little pressure can cause tire roll and rim strikes, while too much makes the ride bouncy and reduces grip.
Trail Adjustment Kit
Be prepared for mid-ride tweaks with these essentials:
- Digital pressure gauge
- Valve core tool
- Compact pump with a PSI gauge
- 2 oz. of spare tubeless sealant
For tubeless setups, drop 2–3 PSI compared to setups with tubes. Wider rims support slightly lower pressures without sacrificing stability. If using heavy-duty tire casings like Double Down or Super Gravity, you can safely lower PSI by another 1–2 points. These adjustments help you stay ready for changing trail conditions.
Conclusion
Getting your tire pressure right improves grip, control, and comfort, no matter where you’re riding. This guide has shown how terrain, weight, and riding style all play a role in determining your ideal PSI, helping you make smarter adjustments for better performance.
As Alex Grant from RideBiker Alliance/Cannondale puts it:
"Tire pressure is the main thing you can control concerning your connection between the bike and the ground".
This insight clears up a common misconception: higher pressure doesn’t always mean better performance. In fact, lower pressures – when used correctly – often deliver better traction and control. They allow your tires to stay in contact with the ground instead of bouncing off obstacles.
Kenny Wehn highlights why this matters:
"In order to get the bike to work the way it was designed, you have to get the pressure right. It is so much more efficient if you are keeping that tire in contact with the ground".
Even professional racers focus heavily on tire pressure. For instance, World Cup Downhill riders fine-tune their PSI down to 0.1. While everyday riders don’t need that level of precision, using a dependable pressure gauge and checking regularly can make a huge difference in your ride.
With a pressure gauge, a trail adjustment kit, and the tips from this guide, you’re ready to experiment and find the PSI that works best for you. The process takes time, but the payoff is worth it: better traction, smoother control, and more enjoyable rides on any terrain.


