Mountain biking is thrilling but comes with risks like cuts, sprains, and bruises from falls or crashes. Knowing how to treat these injuries quickly can prevent complications and speed up recovery. Here’s a quick overview:
- Cuts and Scrapes: Stop bleeding, clean the wound, and apply a sterile dressing to avoid infection.
- Sprains and Strains: Use the R.I.C.E. method (Rest, Ice, Compression, Elevation) to reduce swelling and pain.
- Bruises: Apply cold packs, elevate the area, and monitor for serious issues like fractures.
Pro Tip: Keep a compact first aid kit with essentials like bandages, antiseptic wipes, and a splint. Regular bike maintenance and protective gear (helmet, gloves, pads) can help prevent injuries in the first place.
Stay prepared, ride within your limits, and prioritize safety to enjoy mountain biking without setbacks.
The Essential First Aid Guide For Mountain Bikers!
First Aid Kit Items for Mountain Bikers
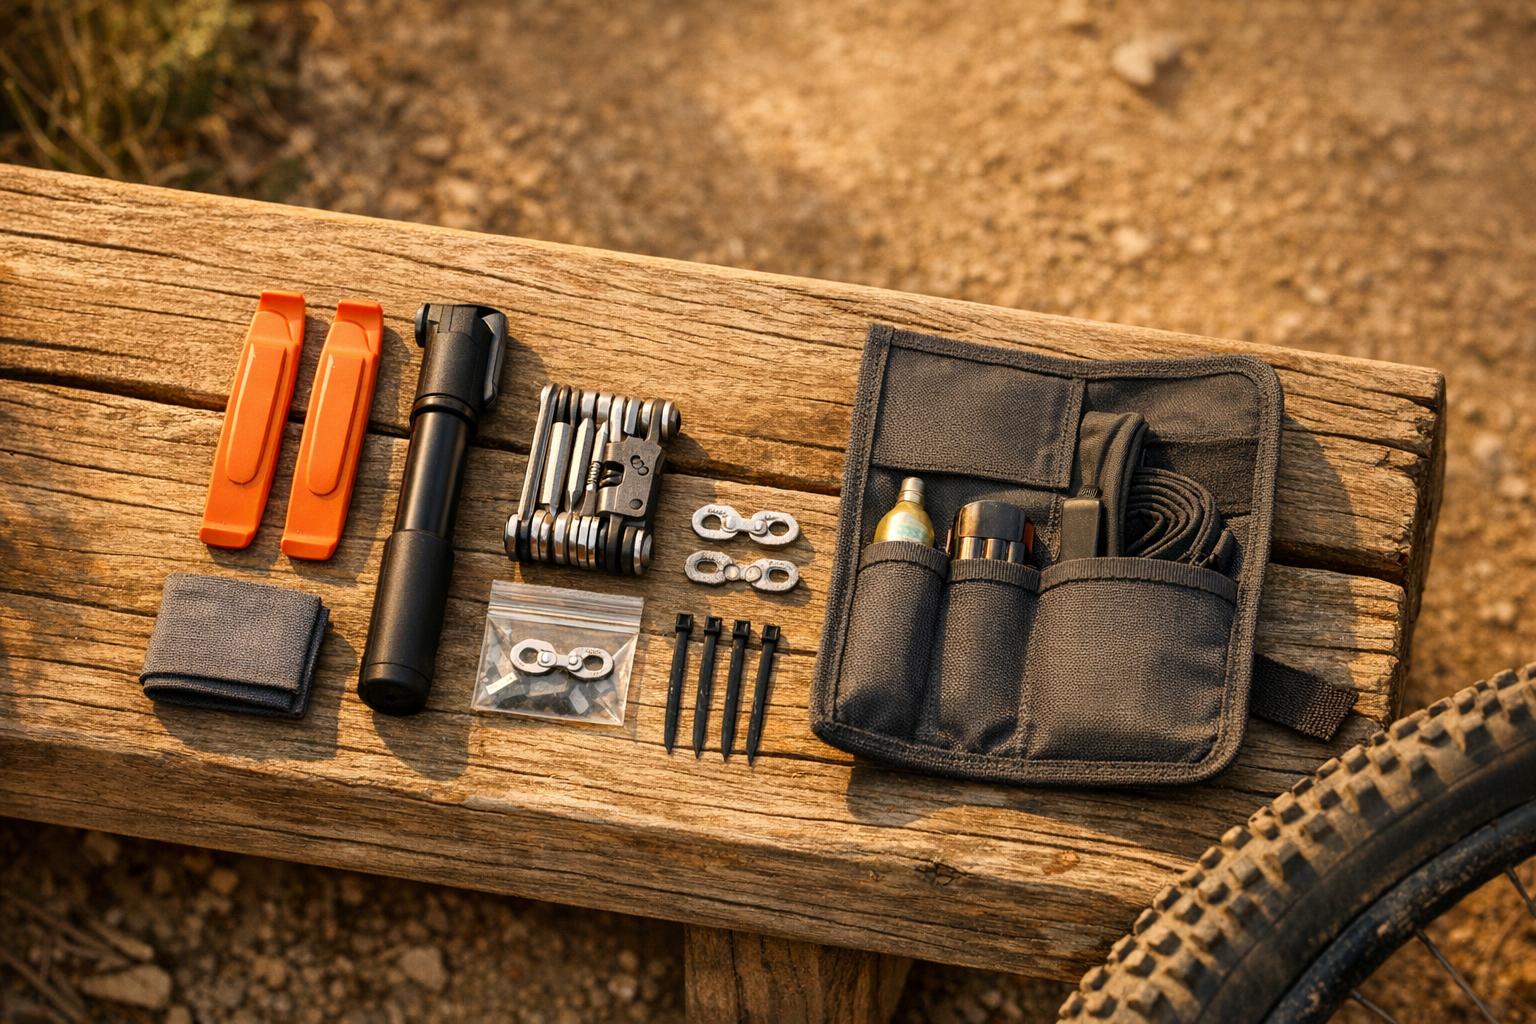
Having the right first aid supplies can make all the difference when dealing with injuries on the trail. The good news? A reliable kit doesn’t have to be bulky or pricey – compact options are available for about $20–$40. The goal is to pack essentials that address common trail injuries without taking up too much space in your pack or bike frame bag.
What to Include in Your Kit
Start with the basics for wound care. You’ll need adhesive bandages in various sizes, sterile gauze pads, non-stick dressings, adhesive tape, antiseptic wipes, antibiotic ointment, and nitrile gloves to reduce infection risks. Keeping wounds clean is critical, so if you’re riding in remote areas, consider adding water purification tablets. Some riders even use these with their hydration packs to create clean water for rinsing wounds.
For controlling bleeding, pack an elastic or compression bandage, a trauma or pressure bandage, and a triangular bandage, which can also double as a sling. These items can help manage moderate bleeding and stabilize injuries until professional help arrives. A commercial tourniquet should only be used in life-threatening cases and with proper training.
To handle sprains, strains, or fractures, include a SAM splint. This reusable tool, priced around $15–$25 in the U.S., is ideal for stabilizing injuries to the wrist, arm, or lower leg. Pair it with elastic wraps and a triangular bandage to secure the splint or create a sling. Studies highlight that upper-extremity injuries, such as clavicle fractures and shoulder ligament damage, are common in mountain biking accidents, making splinting materials a smart addition.
For pain and swelling, carry over-the-counter medications like ibuprofen or acetaminophen in labeled, waterproof containers. Antihistamines are helpful for allergic reactions, and don’t forget personal prescriptions like inhalers or EpiPens if needed. Since chafing and abrasions are frequent issues for mountain bikers, include blister and chafing care products like moleskin, blister pads, or petroleum jelly to prevent and treat these discomforts.
Round out your kit with versatile tools and emergency items. An emergency blanket can help with shock or cold exposure, while small scissors or a multitool with a knife are handy for cutting tape or clothing. Tweezers are useful for removing debris, instant cold packs can reduce swelling, and oral rehydration salts are great for hydration emergencies. A compact CPR face shield is also worth including, along with a basic first aid guide, emergency contact details, and any personal medications.
| Item Category | Example Contents | Why It’s Useful for Mountain Bikers |
|---|---|---|
| Wound care | Bandages, gauze pads, antiseptic wipes, antibiotic ointment | Treats cuts, scrapes, and abrasions while reducing infection risks. |
| Bleeding control | Elastic/compression bandage, trauma bandage, triangular bandage | Controls moderate bleeding and secures dressings. |
| Immobilization | SAM splint, elastic wrap, triangular bandage | Stabilizes sprains, strains, or fractures. |
| Medications | Ibuprofen, acetaminophen, antihistamines, prescriptions | Manages pain, swelling, and allergic reactions. |
| Supportive items | Emergency blanket, scissors, tweezers, CPR face shield | Helps with shock, debris removal, and basic life support. |
| Comfort/friction | Moleskin, blister pads, petroleum jelly | Prevents and treats blisters and chafing. |
How to Pack Your Kit
Packing your kit for easy access is just as important as its contents. Use a water-resistant pouch or small hard case that fits in your backpack, hip pack, or bike frame bag. Organize items into labeled zip-top bags (e.g., "Wounds", "Bandages", "Meds") so you can grab what you need quickly, even with gloves on. Place frequently used items like bandages and wipes on top, and store bulkier items like splints at the bottom.
Many mountain bikers in the U.S. prefer keeping their kits in a hip pack, frame bag, or hydration pack. These options keep the weight centered and ensure supplies are accessible, even after a crash. Avoid placing your kit at the bottom of a backpack where it’s hard to reach – opt for spots like a hip pack pocket, the top compartment of a hydration pack, or a frame bag for quick and easy access.
How to Treat Common Mountain Biking Injuries
When you take a tumble on the trail, quick and effective treatment can make all the difference. Acting promptly not only reduces the risk of complications but also helps you decide whether to keep riding or seek professional help. Many common injuries – like cuts, scrapes, sprains, and bruises – can be managed right there on the spot with some basic first aid skills and the supplies in your kit. The trick is staying calm, working efficiently, and knowing when an injury needs more than trail-side care. Here’s a guide to handling cuts, sprains, and bruises while out on the trail.
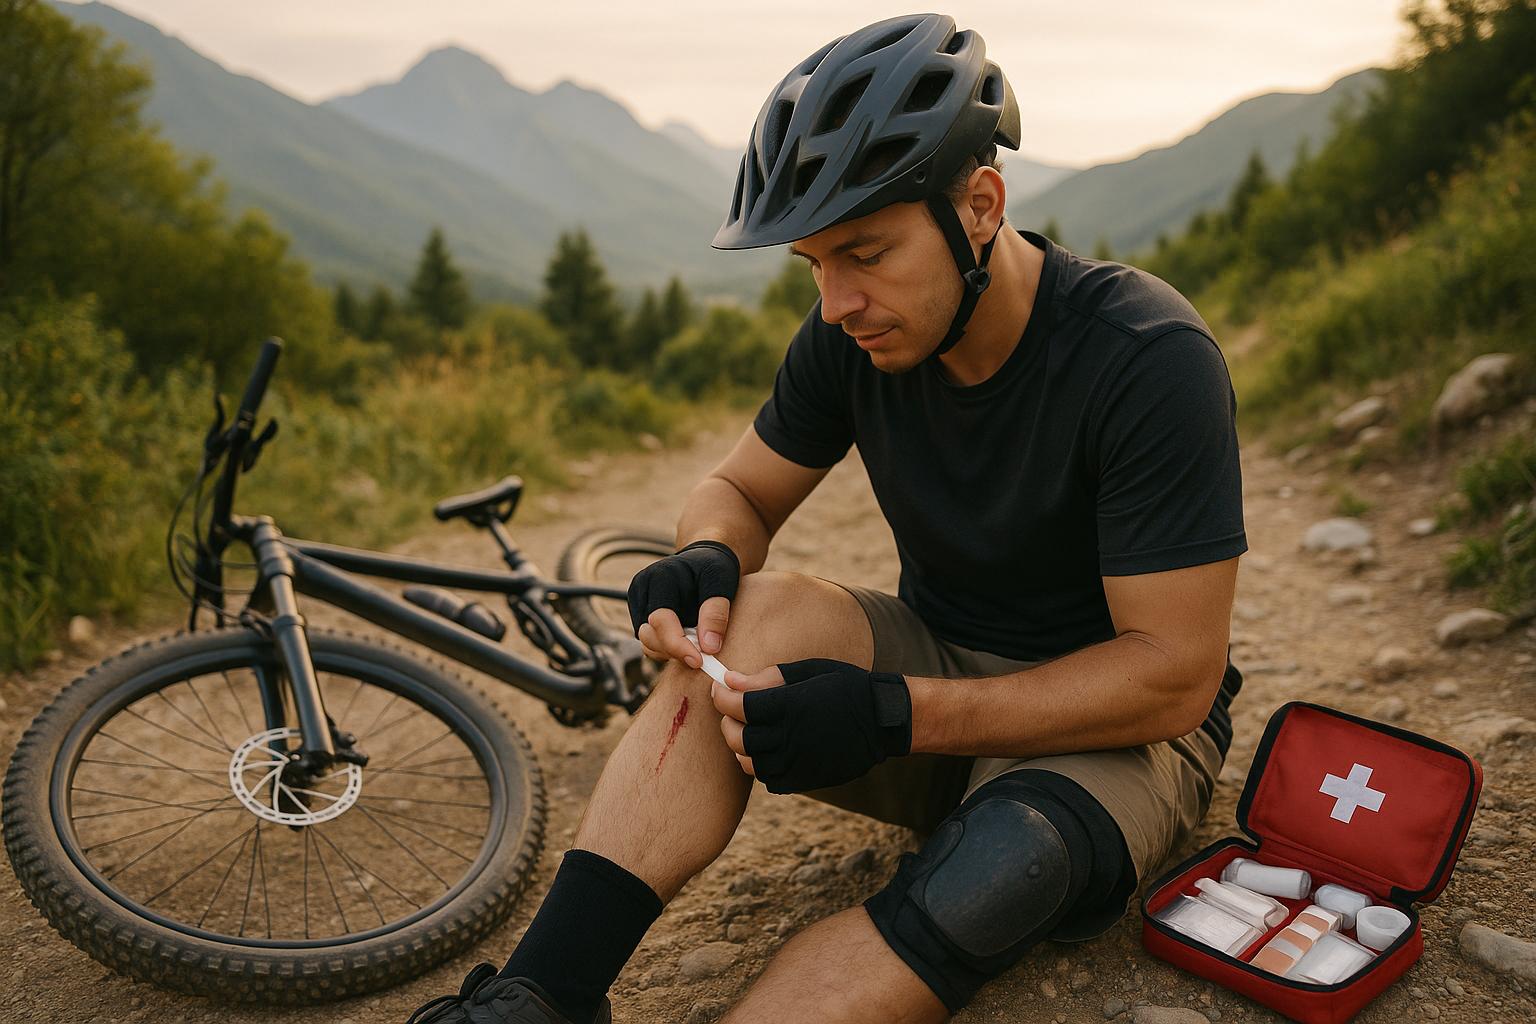
Cuts and Scrapes
Sliding across rocks, dirt, or roots – or even just brushing against sharp edges or branches – often results in abrasions or cuts, especially on your knees, elbows, hips, and hands. While most of these injuries are minor, proper care is essential to avoid infections, especially when you’re far from help.
- Stop the Bleeding: Use gauze or a clean cloth to apply firm pressure to the wound. Hold it in place for several minutes until the bleeding slows. If the blood soaks through, don’t remove the first layer – just add another on top.
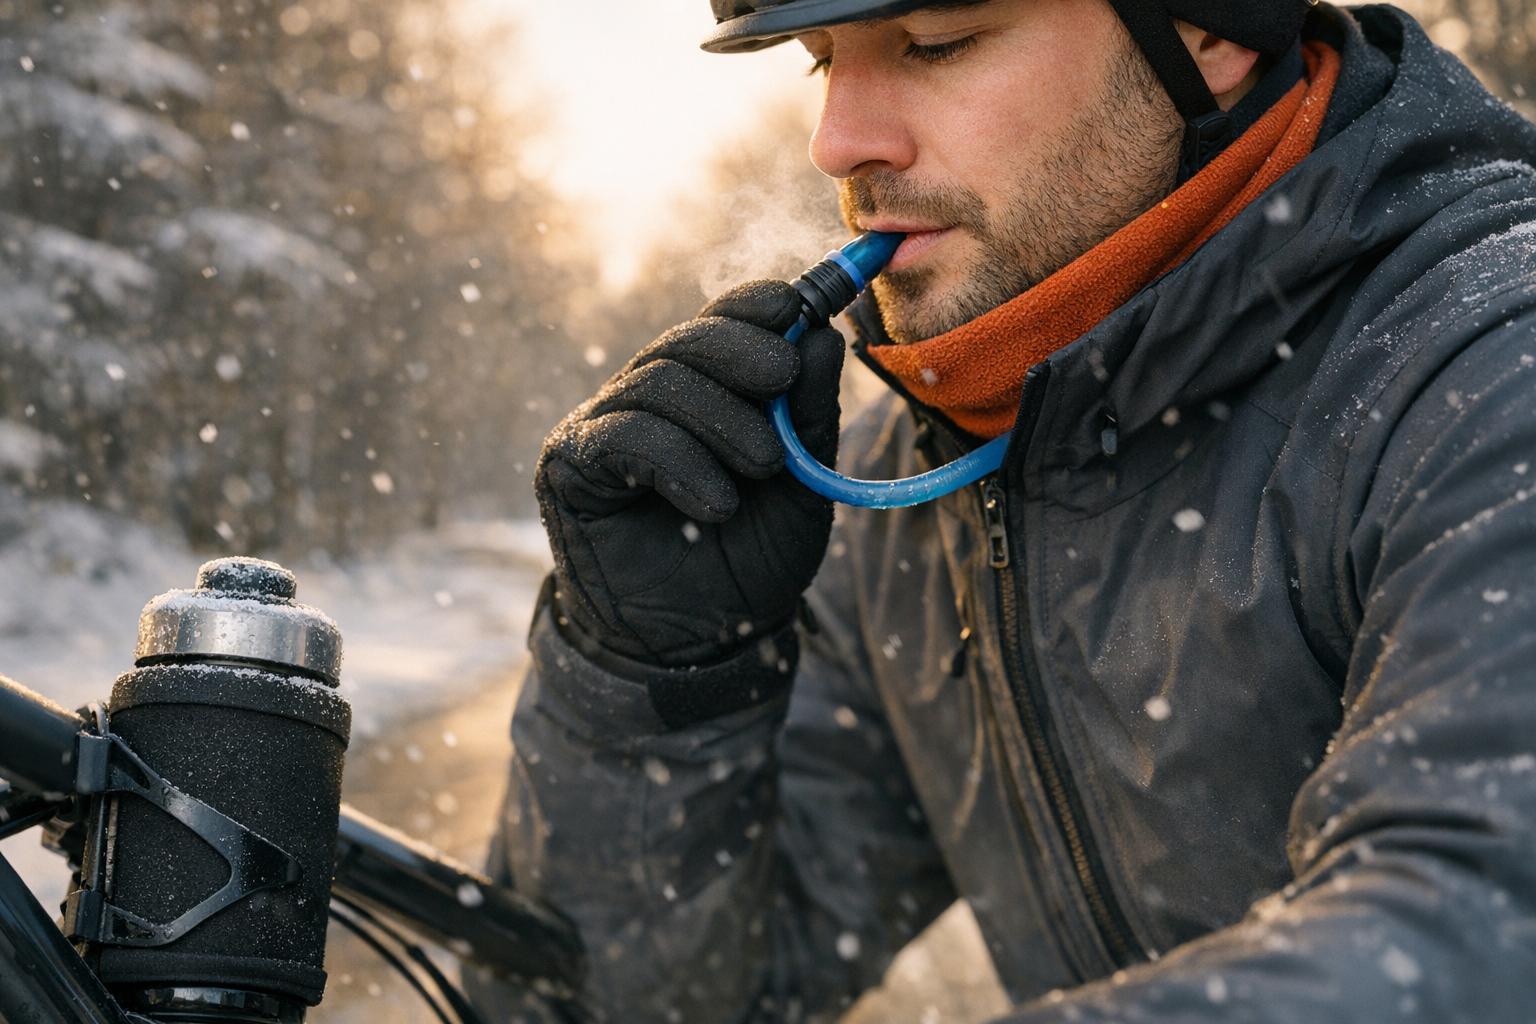
- Clean the Wound: Once the bleeding is controlled, rinse the area with clean water from your hydration pack or water bottle. Flush out dirt and debris thoroughly. If you have mild soap, use it to clean around the wound, making sure to rinse off all the soap afterward.
- Dress the Wound: Pat the area dry with clean gauze, then apply an antiseptic wipe or a thin layer of antibiotic ointment. Cover the wound with a sterile, non-stick dressing, and secure it with adhesive tape or a bandage. Make sure the dressing stays in place but isn’t cutting off circulation.
For minor scrapes and shallow cuts, this approach is usually enough. However, if the wound is deep, has jagged edges, won’t stop bleeding after 10 minutes of pressure, or is heavily contaminated, it’s time to seek medical attention. Also, if you haven’t had a tetanus shot recently, consult a doctor after any deep or dirty wound.
After your ride, keep the wound clean by washing it gently once or twice a day with soap and water. Reapply ointment and change the dressing as needed. Watch for signs of infection like redness, warmth, swelling, pus, or fever. If these occur, see a doctor.
Sprains and Strains
Sprains (injuries to ligaments) and strains (injuries to muscles or tendons) are common when you twist a joint or land awkwardly during a fall. Ankles, knees, wrists, and shoulders are the usual suspects. The tried-and-true R.I.C.E. method is your go-to for managing these injuries:
- Rest: Stop riding immediately if you feel sharp pain or instability. Avoid putting weight on the injured area.
- Ice: Use a cold pack, stream water, or even a water bottle filled with cold water. Apply it to the injury for 15–20 minutes at a time, taking breaks to protect your skin.
- Compression: Wrap the area with an elastic bandage for support, but don’t make it so tight that it causes tingling, numbness, or discoloration.
- Elevation: Keep the injured limb raised above your heart whenever possible to reduce swelling.
You can take ibuprofen to ease the pain, but rest is critical. If you notice severe swelling, visible deformity, an inability to bear weight, or heard a “pop” at the time of injury, immobilize the area with a splint and get medical help as soon as possible.
Bruises and Contusions
Bruises happen when a direct impact damages blood vessels beneath the skin, leading to swelling, discoloration, and tenderness. While most are harmless, larger or particularly painful bruises could signal a more serious injury.
- Check for Serious Issues: Before assuming it’s just a bruise, check for lumps, deformities, or sharp pain that might indicate a fracture or dislocation.
- Apply Cold Therapy: Use a cold pack or ice wrapped in a cloth immediately after the injury. Apply for 15–20 minutes at a time, with breaks in between. Avoid placing ice directly on the skin.
- Elevate and Compress: Rest the bruised area and, if possible, keep it elevated above your heart. A light compression bandage can help reduce swelling, but it shouldn’t cause discomfort.
Over the next day or two, continue with cold therapy to manage swelling and monitor the injury. If pain or swelling doesn’t improve, seek medical advice. Only get back on your bike once the pain is gone and you’ve regained most of your range of motion.
Quick, effective care on the trail can help you recover faster and get back to doing what you love – riding safely.
sbb-itb-9d75ae1
How to Prevent Mountain Biking Injuries
Staying safe on the trail starts with riding within your skill level, picking smart lines, managing fatigue, and keeping your bike in top shape. By developing good habits around your gear, bike maintenance, and riding technique, you can cut down on risks and enjoy more confident, injury-free rides. These steps also complement any trail-side care by reducing the chance of accidents in the first place.
Wear Proper Safety Gear
The right protective gear can turn a potentially serious injury into something minor – or prevent it altogether. A CPSC-certified helmet is a must. For most trail and enduro riders, a half-shell helmet strikes a good balance between protection and ventilation. The helmet should sit level on your head, not tilted back, and fit securely without wobbling. The chin strap should be snug, leaving just enough room for one or two fingers.
Full-finger gloves are essential for protecting your hands when you instinctively reach out during a fall. Without them, even a minor tumble on rocky terrain can lead to deep cuts or worse. Knee pads are another smart choice, and for more aggressive riders, elbow pads are worth considering. These can turn nasty scrapes into minor bruises. Look for pads that fit snugly – tight enough to stay in place but not so tight that they restrict circulation. Protective eyewear shields your eyes from debris, branches, and dirt, while grippy flat or clipless shoes help keep your feet secure on the pedals, giving you better control. Before every ride, double-check that all your gear fits properly and is in good condition.
Keep Your Bike Maintained
A well-maintained bike is less likely to fail you when it matters most. Many crashes stem from mechanical issues like brake failures or tire blowouts, both of which are preventable with regular upkeep. Start with a pre-ride inspection every time you hit the trail:
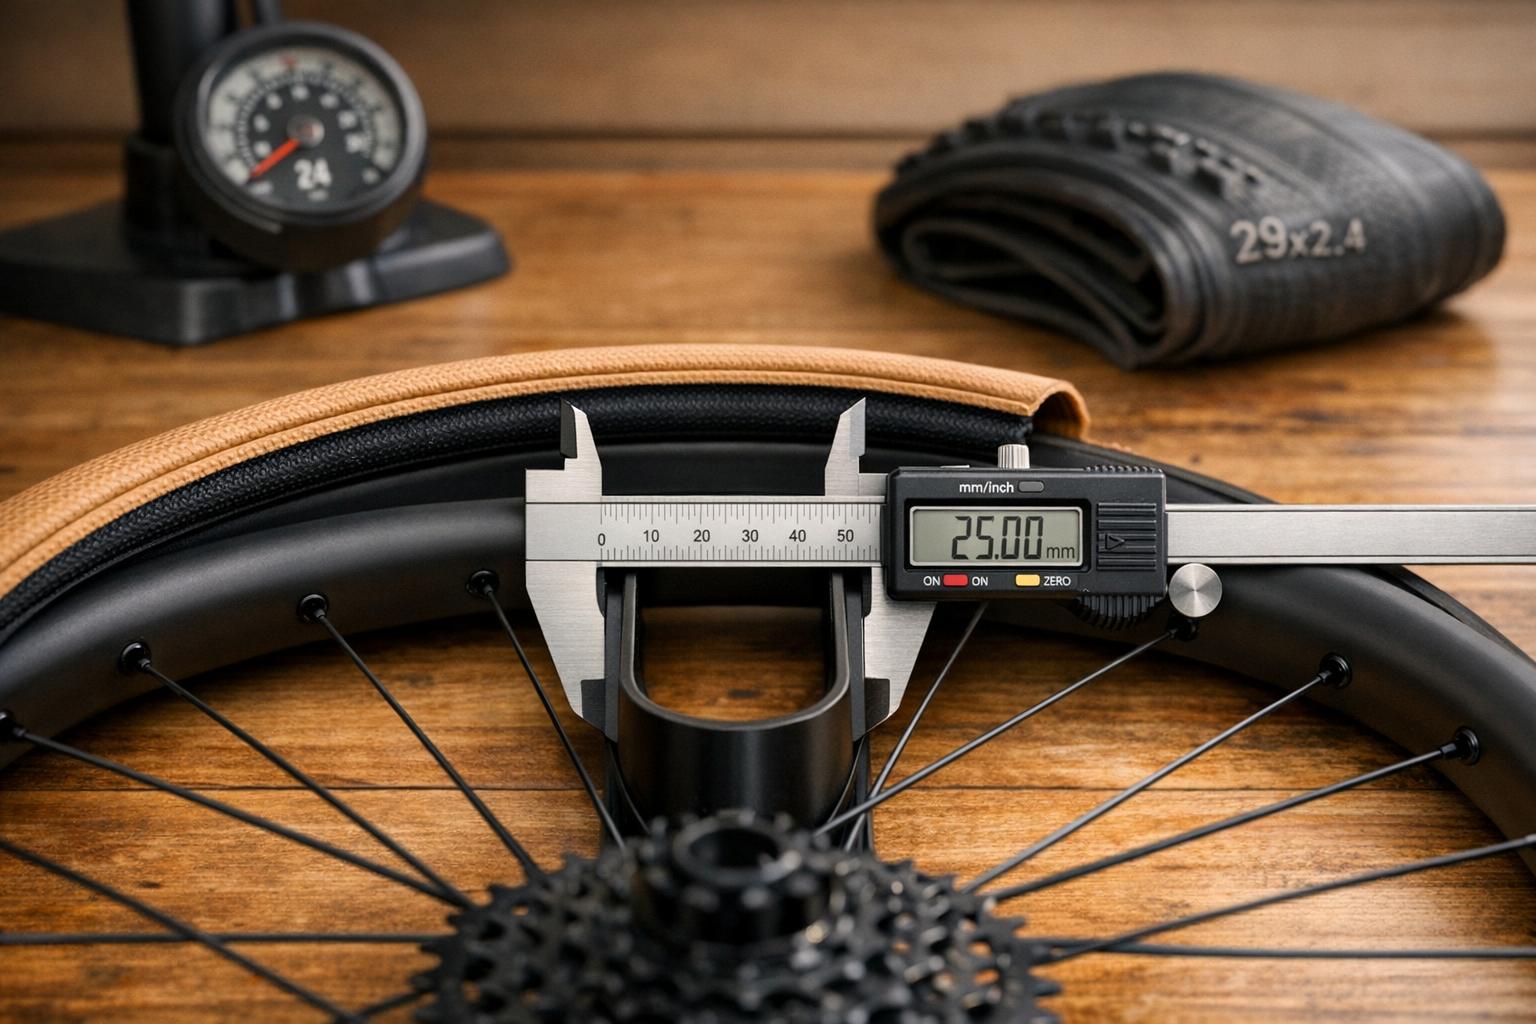
- Check your tire pressure and inspect tires for wear or damage.
- Test your brakes to ensure they’re responsive.
- Secure quick-release levers or thru-axles.
- Make sure your chain is lubricated and the handlebars and headset are secure.
Beyond these quick checks, stick to a regular maintenance schedule. Lubricate your chain every few rides, especially after riding in wet or dusty conditions. Check your brake pads monthly and replace them as needed. A professional tune-up once a season is a good idea – more often if you ride frequently or in tough conditions.
During your ride, stay alert for warning signs of mechanical trouble. Spongy brakes, skipping gears, wobbling wheels, or suspension bottoming out are all red flags. If brakes feel unreliable, walk your bike down steep sections. If the drivetrain acts up, shift more gently. And if anything feels structurally unsafe, don’t push your luck – either end the ride or take an easier route back. Ignoring small issues can lead to big problems.
Improve Your Riding Skills
Your equipment is only part of the equation – good technique is just as important for staying safe. Focus on refining key skills like body positioning, smooth braking, and cornering. Choose trails that match your skill level, and adjust your speed and technique based on the trail conditions.
Line choice plays a big role in avoiding falls. Look ahead to spot safe paths around obstacles, and don’t be afraid to stop and study technical sections before riding them. If something feels beyond your comfort zone, it’s okay to walk it.
When selecting trails, stick to those that suit your ability. The U.S. trail rating system – green for easy, blue for intermediate, and black for advanced – exists to help you gauge difficulty. Start on easier trails and work your way up as your confidence grows. Adjust your speed for challenges like loose dirt, wet roots, or poor visibility. Before tackling technical features at full speed, pre-ride them slowly to get a feel for what’s ahead. And don’t try to keep up with faster friends if it means riding beyond your control.
Fitness and preparation also matter. Strong legs, core strength, and flexibility help you maintain control, especially as fatigue sets in. Warm up before riding with 5–10 minutes of light pedaling and simple exercises like squats or lunges. After your ride, cool down with easy pedaling and some light stretching. Build in rest days to avoid overuse injuries in your knees, lower back, and wrists.
If you want to fast-track your progress, consider signing up for coaching or skills clinics. A good instructor can help you correct bad habits and teach you drills that make riding safer and more enjoyable.
Finally, adapt to your environment. Stay hydrated in dry conditions, layer up for high altitudes, and ride cautiously in wet weather.
Preventing injuries isn’t a one-time effort – it’s about consistently building skills, keeping your bike in shape, and making smart choices on the trail. By staying proactive, you can reduce the need for first aid and enjoy safer rides.
Conclusion: Stay Safe and Prepared on the Trails
Mountain biking has its risks, but being well-prepared can make all the difference in handling cuts, scrapes, sprains, and bruises effectively. With the right gear, quick responses to injuries, and proper follow-up care, you can stay safe and keep enjoying the ride.
Key Points to Remember
Your safety on the trail starts with preparation. Regular bike maintenance, improving your skills, and using the right protective gear are essential to reducing injuries.
Protective gear is non-negotiable. Always wear a well-fitted helmet, full-finger gloves, eye protection, and pads. These items can significantly reduce the severity of injuries. For example, studies highlight that upper limb injuries – like abrasions and fractures – are common because riders instinctively extend their arms during a fall. Gloves and elbow pads are especially useful in these situations.
A first aid kit is your trail companion. Keep a compact, organized kit in your pack or frame bag, and make sure it’s easy to access. Check it regularly to restock any used items, ensuring it’s ready when you need it.
Learn basic first aid. Knowing how to handle injuries on the trail – like stopping bleeding, cleaning wounds, or recognizing when to seek professional care – can prevent complications. For instance, deep cuts, uncontrollable bleeding, or visible deformities often require urgent medical attention.
Prevention is your best strategy. Research shows that many common injuries, such as abrasions, contusions, and fractures, can often be avoided. Regular bike checks help catch mechanical issues before they lead to crashes, while building your skills through practice or coaching reduces falls on tricky terrain. Ride within your limits to stay in control.
Back at home, keep an eye on injuries. Watch for signs of infection like redness, swelling, pus, fever, or increasing pain. For sprains or bruises, ice and compression can help. Overuse injuries, such as knee or back pain, often improve with rest, stretching, and strength exercises. If these issues persist, a bike-fit adjustment or a visit to a healthcare provider might be necessary.
Lastly, plan your rides wisely. Always let someone know where you’re going and when you’ll return. Check your cell coverage and familiarize yourself with the nearest trailhead or access road, especially in remote areas where help might take longer to arrive. U.S. trails vary widely – from hot deserts to high-altitude alpine routes – so adapt your clothing, gear, and first aid supplies to the local conditions.
For more safety advice and advanced first aid techniques, explore the resources below.
More Resources
Your safety education doesn’t stop here. Consider taking a first aid or wilderness first aid course to gain hands-on experience – especially if you ride in remote areas. Many local mountain bike clubs host skills clinics and group rides that focus on safe riding practices. Certified coaches can also help you fine-tune your techniques, like braking and cornering, to reduce the risk of crashes.
For expert guidance on gear, bike setup, and injury prevention, check out Intermountain Bikes. Whether you’re selecting a helmet, packing your first aid kit, or choosing knee pads, their resources cover everything you need to know to stay safe on the trails.
Don’t overlook your local trail associations and bike shops. They’re great for updates on trail conditions, safety notices, and upcoming skills classes. If you’re dealing with recurring pain or injuries, consider consulting a sports medicine professional or physical therapist who specializes in cycling injuries for tailored advice and rehab plans.
Preparation, knowledge, and quality gear aren’t just about staying safe – they’re what enable you to take on bigger challenges with confidence. With the right mindset and tools, mountain biking can become a lifelong passion. Ride smart, stay ready, and enjoy every mile of the journey.
FAQs
What should I do if I suffer a serious injury, like a fracture, while mountain biking?
If you think you’ve suffered a serious injury, like a fracture, your first priority should be your safety. Stop riding immediately and avoid putting any weight or pressure on the injured area.
Get professional medical help as soon as possible. Call for emergency assistance or have someone take you to the nearest medical facility. While waiting for help, try to keep the injured area stable – use a splint or support it gently, but don’t move it more than necessary. If you’re in a remote location, having a first-aid kit and basic tools can make a big difference in stabilizing the injury until help arrives.
For mountain bikers, it’s smart to ride with a partner, carry a dependable way to communicate, and be familiar with your route. These precautions can make it easier to get assistance quickly when emergencies happen.
What should I include in a first aid kit for mountain biking?
When preparing for common mountain biking injuries, make sure your first aid kit covers the basics. Include adhesive bandages, antiseptic wipes, gauze pads, and medical tape to handle cuts and scrapes. For sprains or minor strains, pack an elastic bandage and an instant cold pack. Tweezers are handy for removing splinters, while ibuprofen or other pain relievers can help manage discomfort. Don’t forget gloves to keep things sanitary.
Additional items like a small pair of scissors, wound closure strips, and a basic first aid guide are also worth having on hand. Customize your kit based on your specific needs and the type of terrain you’ll be tackling. Make it a habit to check your supplies regularly, ensuring everything is stocked, unexpired, and ready to use.
How can I improve my mountain biking skills to reduce the risk of injuries?
Improving your mountain biking skills is essential for both safety and enjoyment on the trails. Start with the basics: nail down proper body positioning, learn effective braking techniques, and practice smooth cornering. Take on small challenges first to build your confidence before moving on to tougher trails.
Consistency is key – make it a habit to ride regularly. You might also want to join a skills clinic or ride with seasoned bikers who can share valuable tips and offer constructive feedback. And don’t forget the essentials: always wear protective gear like a helmet and gloves to reduce the risk of injury if you take a tumble.
If you’re looking for more advice or detailed guides to elevate your mountain biking game, check out resources like Intermountain Bikes. They’re a great source for helping riders sharpen their skills and enjoy the sport safely.